What is Phantom?
Phantom is a cryptocurrency wallet that allows users to receive, store, send, swap, and stake tokens on the Solana blockchain. Phantom also enables access to a range of Solana-based decentralized applications (dapps), including decentralized exchanges, NFT projects, games, and social media platforms.
Currently, Phantom only caters to Solana but plans to incorporate other blockchains like Ethereum in the future. In this tutorial, we’ll go over how to set up the wallet, deposit, swap, and stake tokens, and how to connect your wallet to dapps.
Getting set up
Phantom is available to download as an IOS mobile app or browser extension. For this tutorial, we’ll be sticking to the browser extension, but both versions function quite similarly.
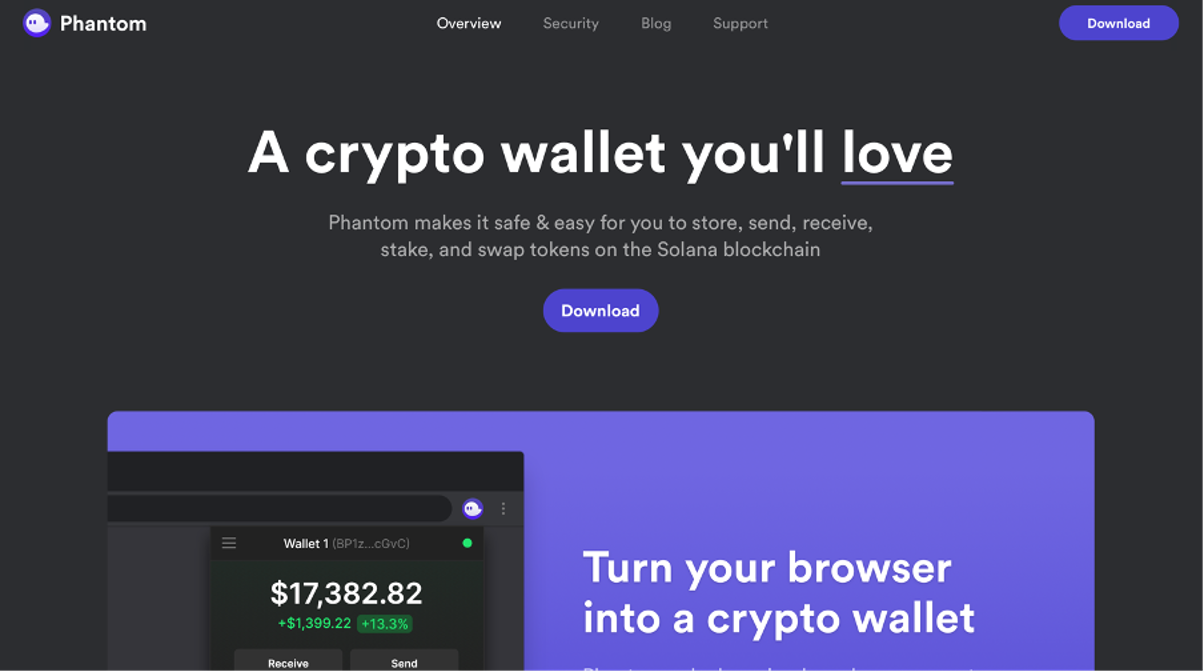
Start by heading over to Phantom’s website ‘Phantom.app’ and click the download button on the website’s homepage.
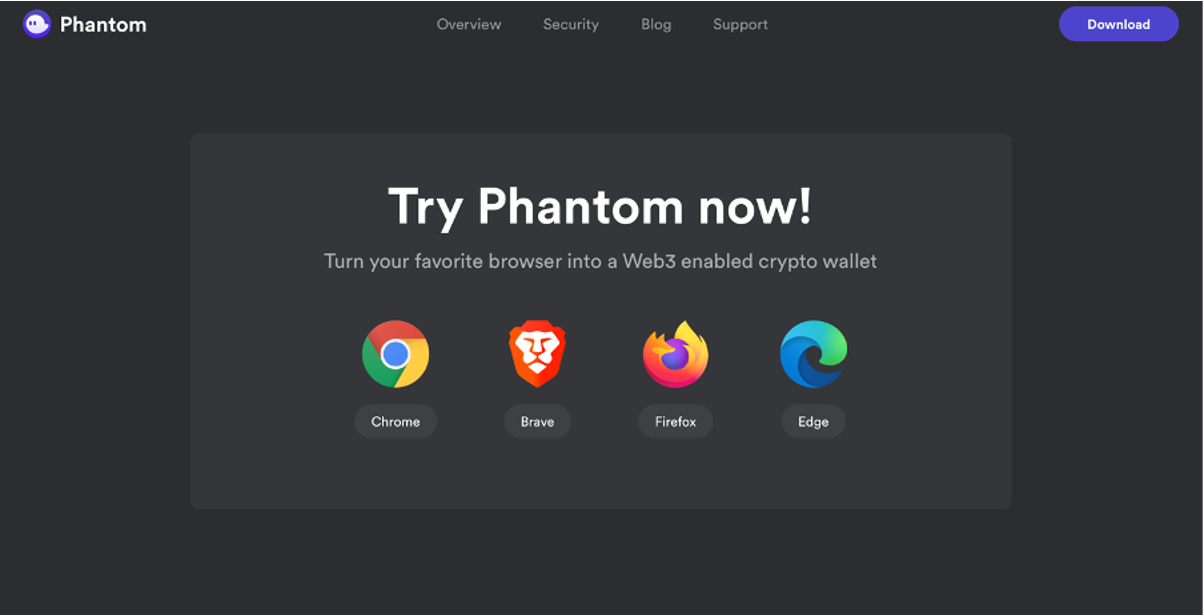
Next, you’ll have to select which browser you want to add your Phantom wallet to. For this tutorial, we’ll be using chrome.
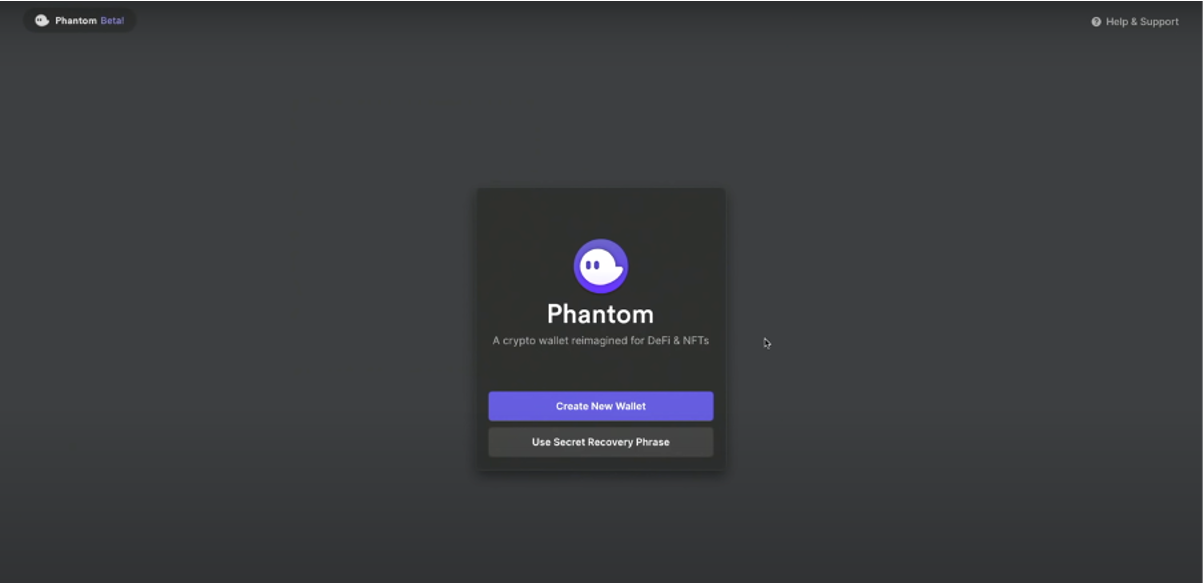
Once you click ‘add to Chrome’ followed by ‘add extension,’ Phantom will begin to download. After this, you’ll need to set up your actual Phantom wallet. If you already have one, then you can enter your secret recovery phrase to gain access. If not, click ‘create new wallet’.
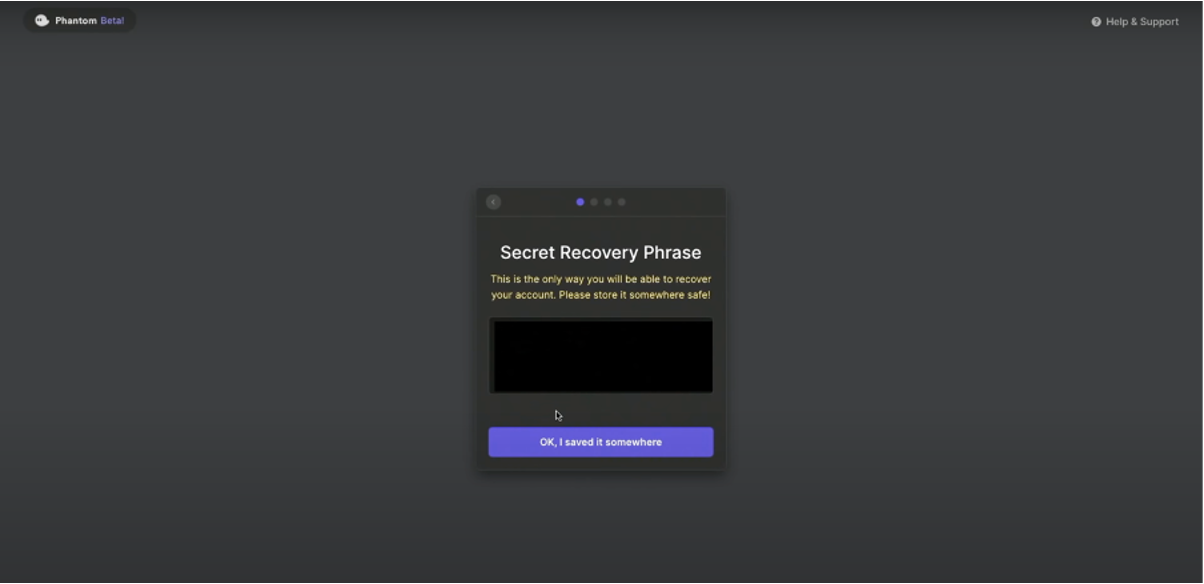
On the following page, you’ll be given your secret recovery phrase. If you ever lose access to your wallet, this phrase will enable you to log into Phantom from another device. It’s important that you write this phrase down and store it in a secure place.
Once you have this done, you’ll be asked to create a password for your account and to agree to Phantom’s terms and conditions. By clicking on ‘save’ followed by ‘finish’ your wallet will have been set up.
To pin the Phantom extension to your chrome browser, all you have to do is click on the jigsaw icon on the top right of your chrome browser and then press the pin icon displayed next to the Phantom icon.
When you press this icon, your Phantom wallet will pop up. Currently, there isn’t the option to view your wallet in full screen.
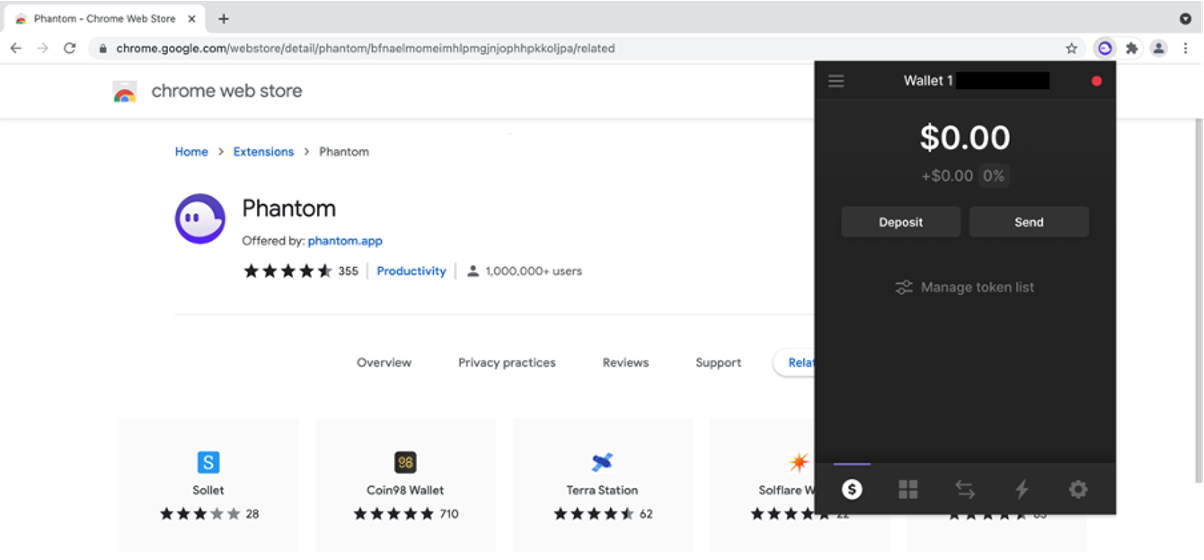
If you want to save addresses (i.e. any exchange accounts you might have or other wallet addresses) that you commonly use to your Phantom wallet, then click on the Settings gear icon.
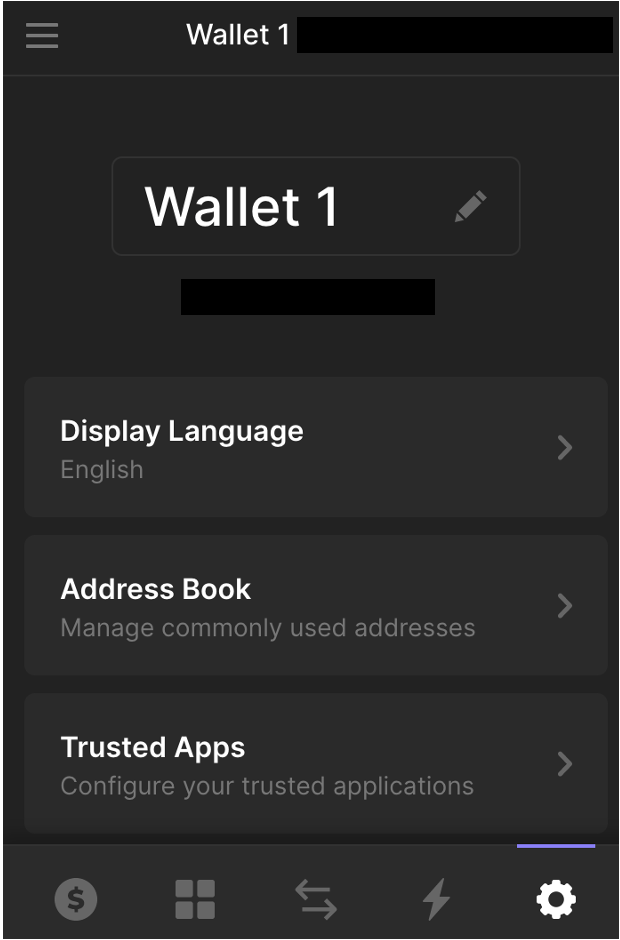
Select ‘address book’ followed by the ‘+’ symbol. Simply click ‘add’ once you have entered in the address. If you want to rename your wallet, click on the pen icon at the top of the settings screen.
In settings, there is also a ‘trusted apps’ section. The first time you use a Solana-based app via Phantom, you’ll be prompted to add it as a ‘trusted’ app. This section simply lists all of your trusted apps.
The ‘change network’ section is where you can switch between different Solana networks. Your wallet will be set to the ‘Mainnet Beta’ network by default, which is what we recommend sticking to.
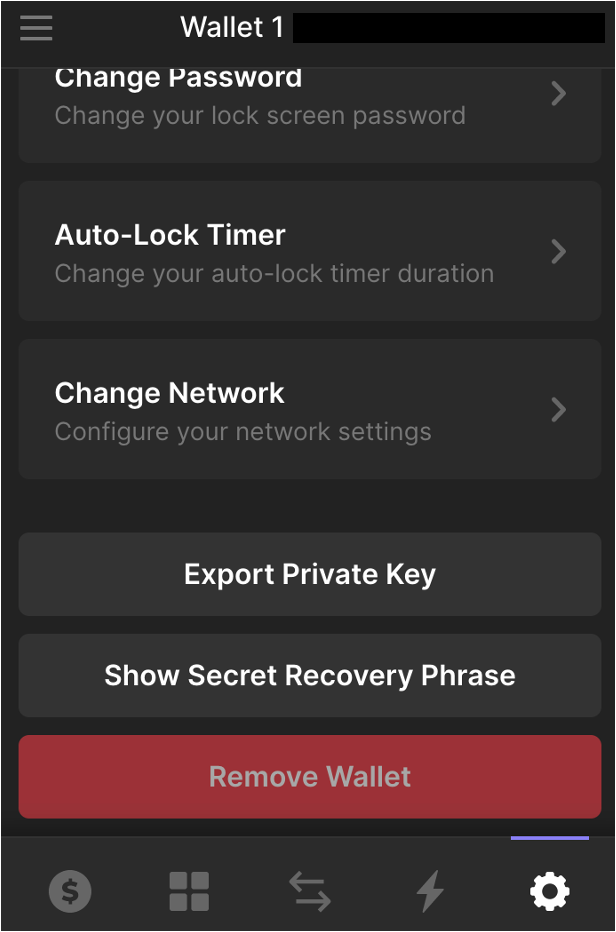
Note that towards the bottom of the settings page, you have the option to export your private key, which is a long complicated code unique to your wallet. Your secret recovery phrase acts as a simplified version of your private key. However, both should be stored in a safe and secure place.
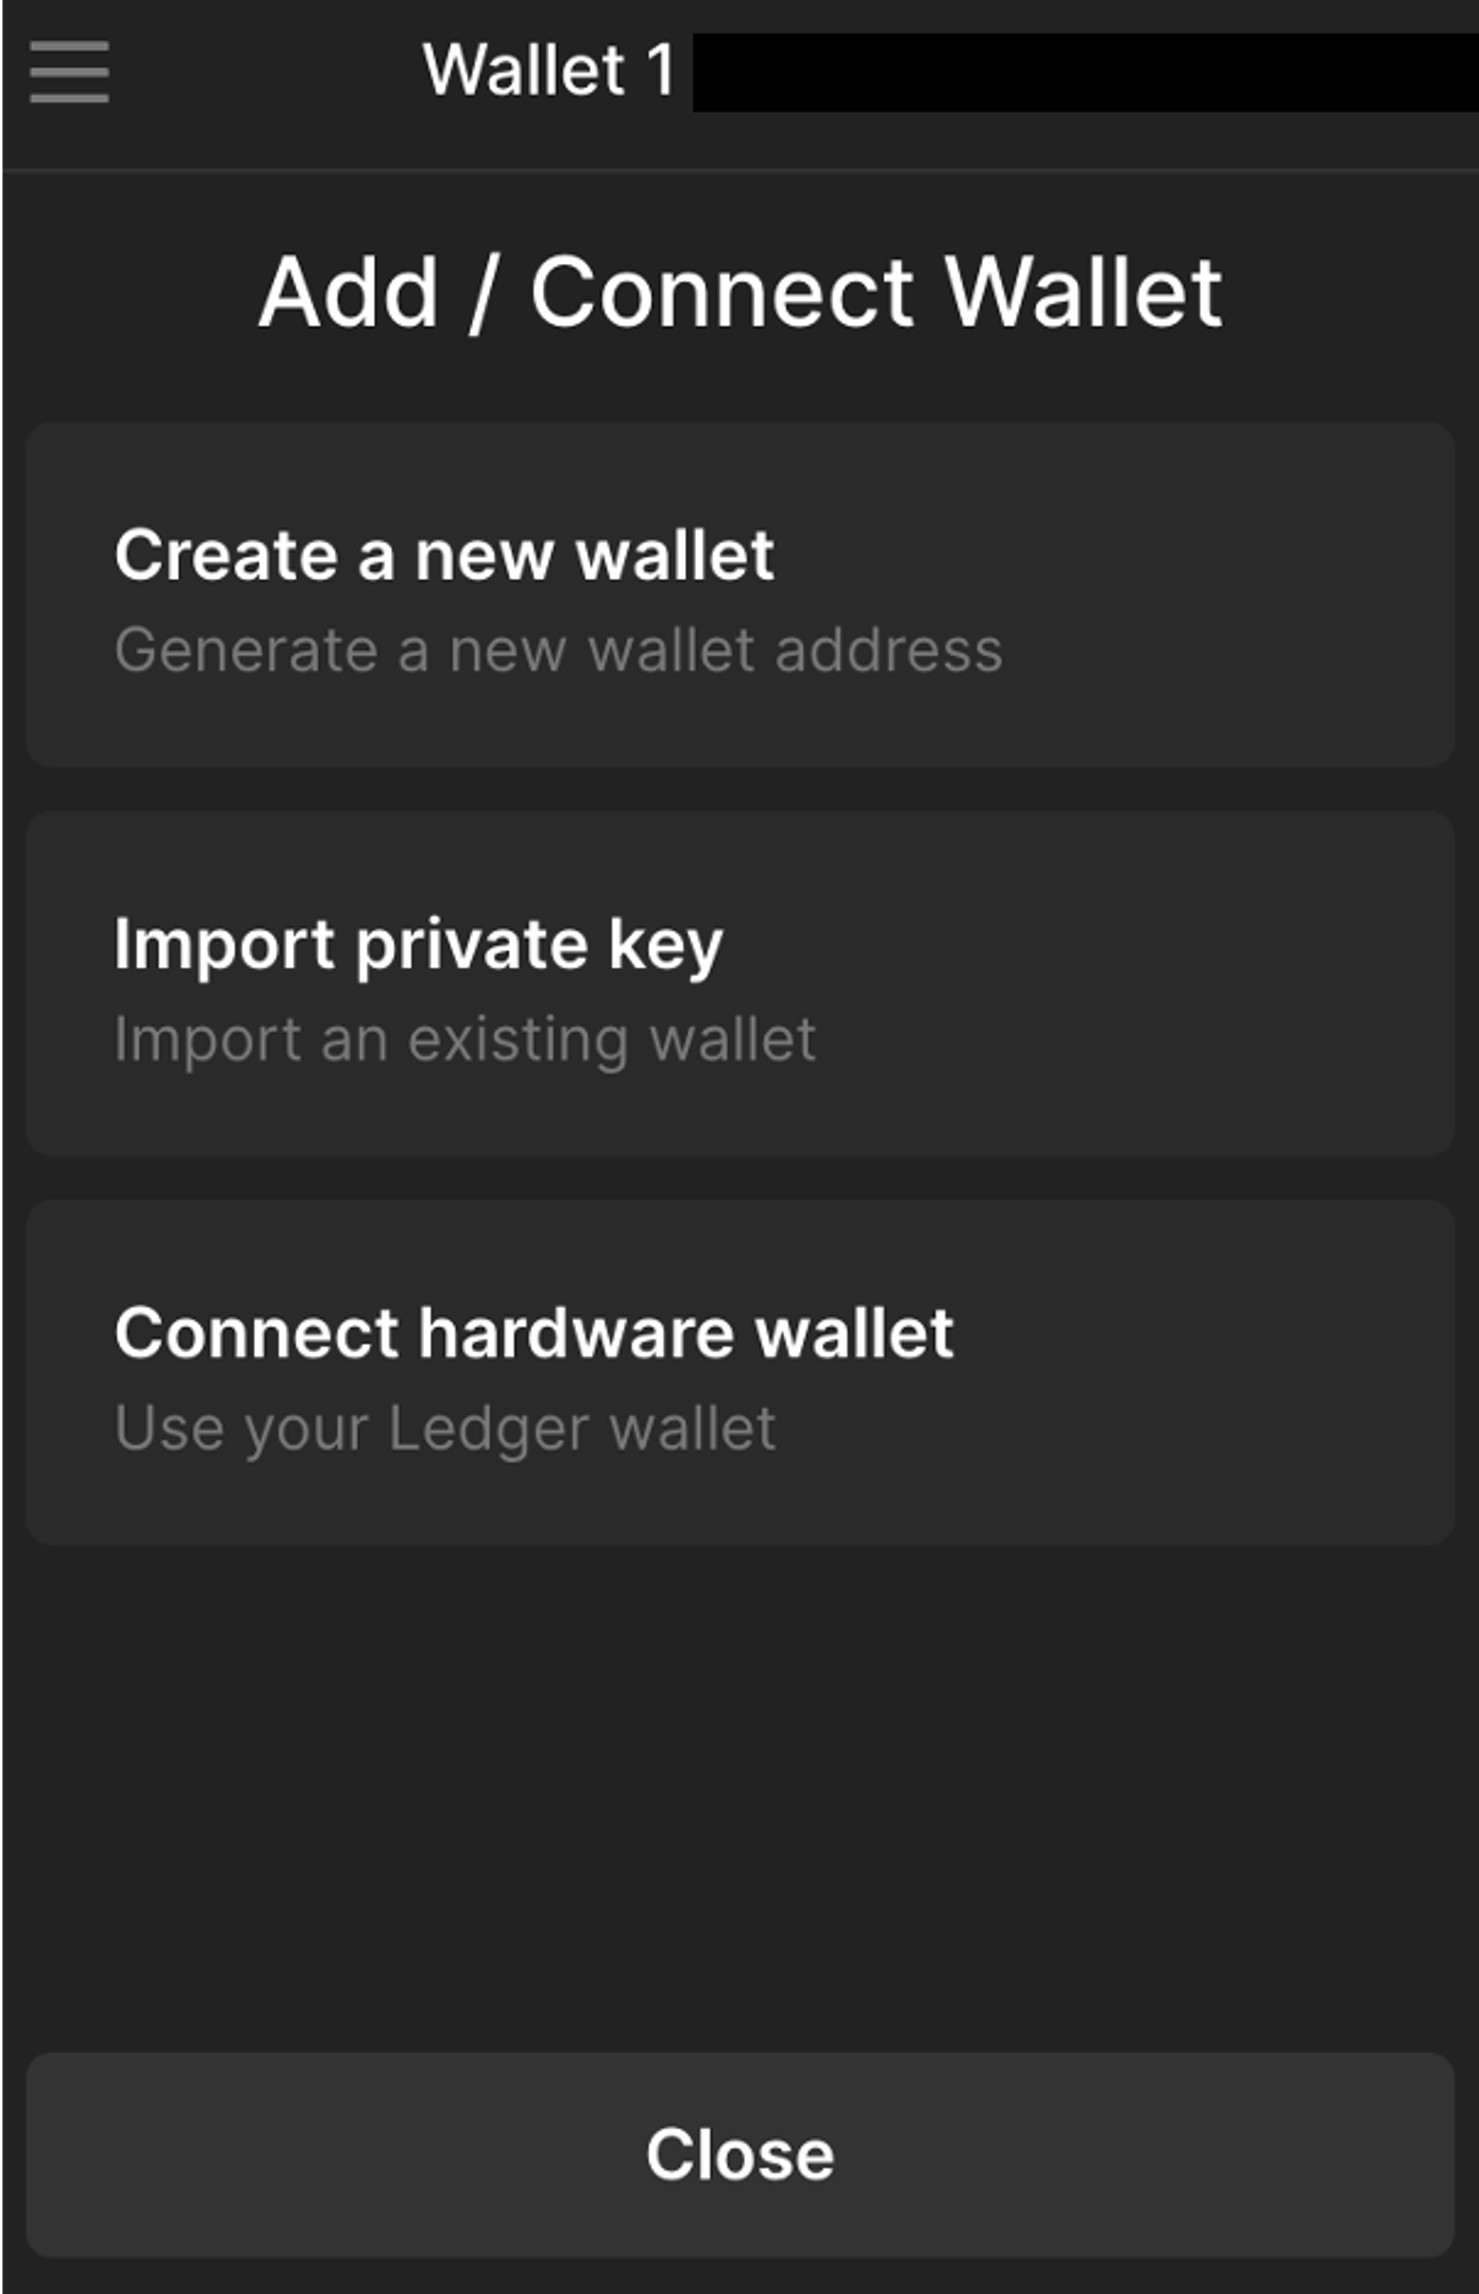
It’s possible to add or connect other wallets to Phantom. To do this, click on the three lines in the top left-hand corner of your wallet’s home screen. Then press on ‘add/ connect wallet’.
You’ll have the option to create a new Phantom wallet, import a separate existing wallet via private key or connect a hardware wallet. In simple terms, a hardware wallet or cold wallet is a device that you can use to store your crypto entirely offline.
To lock your wallet, click on the three lines again and simply click ‘lock wallet.’
If you’d like to set an auto-lock timer for your wallet, click on the settings gear icon and then press on the ‘auto-lock timer’ tab. Enter how often you would like your wallet to lock and click save.
Depositing Tokens
If you have Solana-based tokens in another wallet or an exchange account, you can simply click on your wallet’s name at the top of the screen. Your wallet address will automatically be copied to your clipboard.
All you have to do then is log in to your wallet or exchange account and use this address to deposit the type and amount of whichever Solana-based token you have into your Phantom wallet. We have a whole tutorial on exchange accounts coming soon so make sure to keep an eye out.
If you don’t have another wallet or an exchange account, then you can click the ‘deposit’ button on your wallet’s homepage. Here, you’ll be presented with two options.
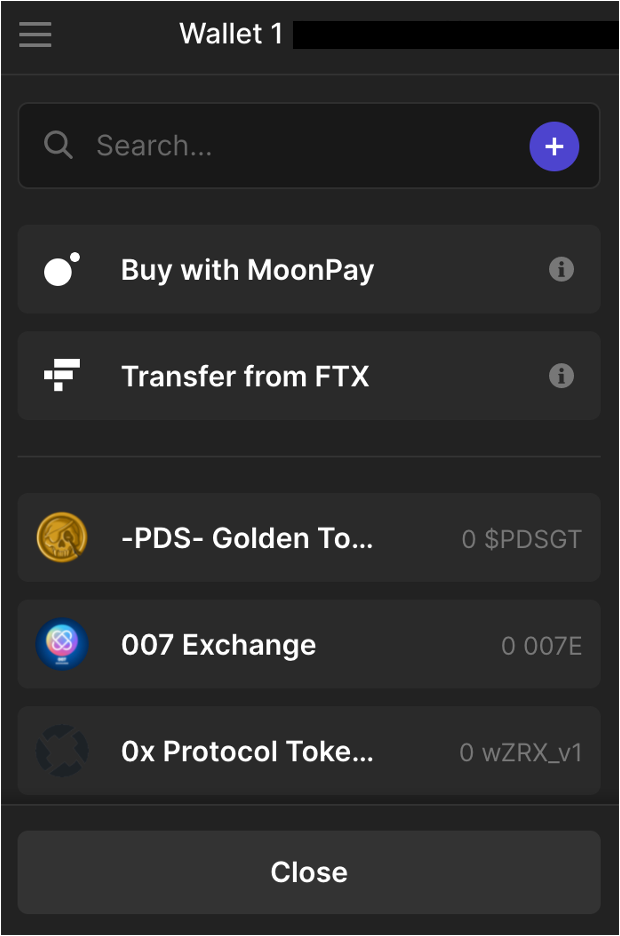
The first option is to buy with ‘MoonPay,’ a financial technology company. This method can often end up being quite costly, so we don’t recommend it.
Solana is a high-speed blockchain so the amount you deposited should appear on your Phantom wallet’s homepage within a minute or so.
Add Token support
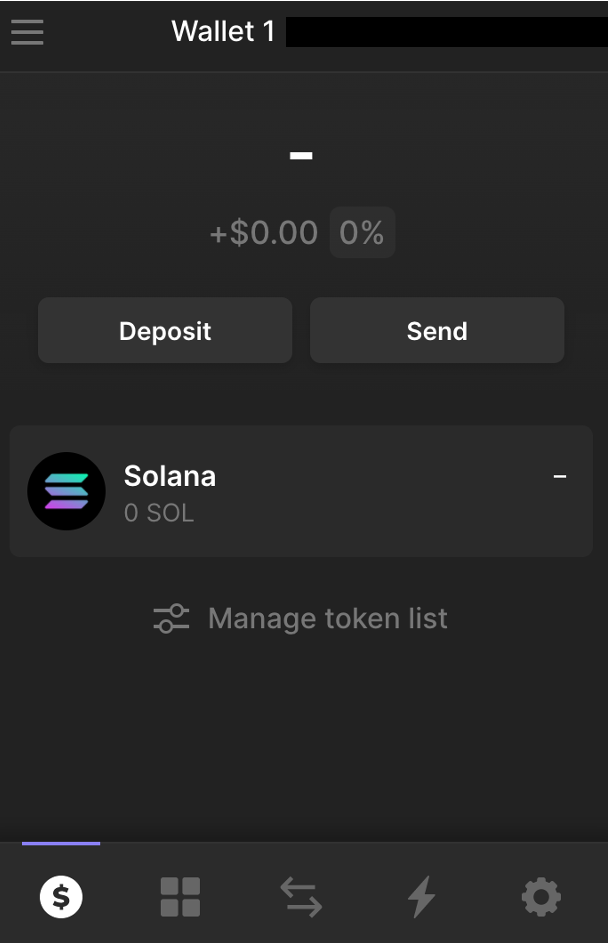
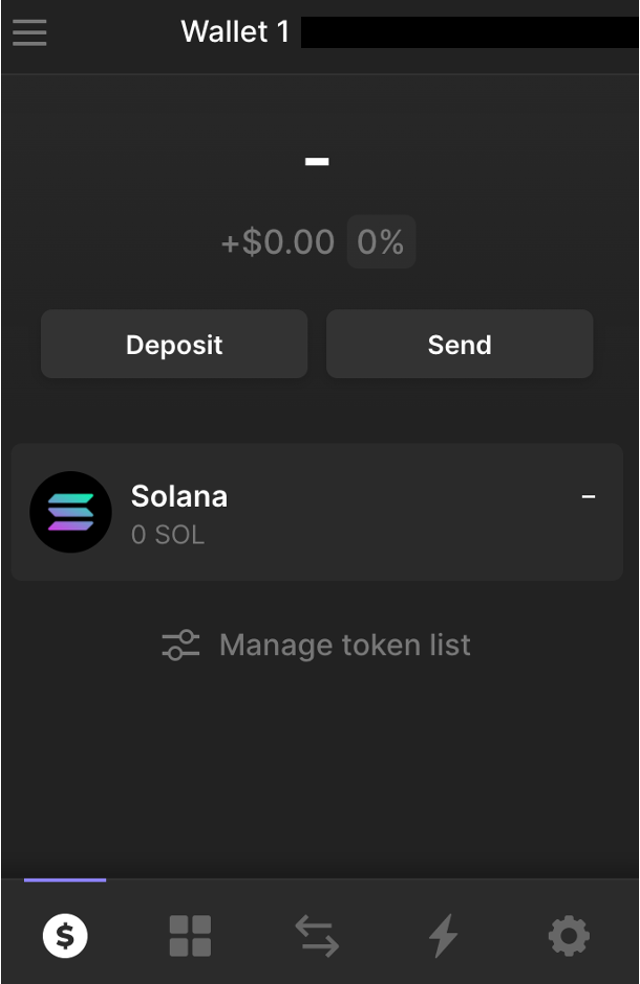
Once you have deposited some tokens, the support for this token will appear on your wallet’s homepage. If you want to manually add support for other tokens, click on ‘manage token list’.
Here you can type in the name of the token you’re looking for in the search bar. To add this token to your homepage, press on the icon towards the right of the token’s name.
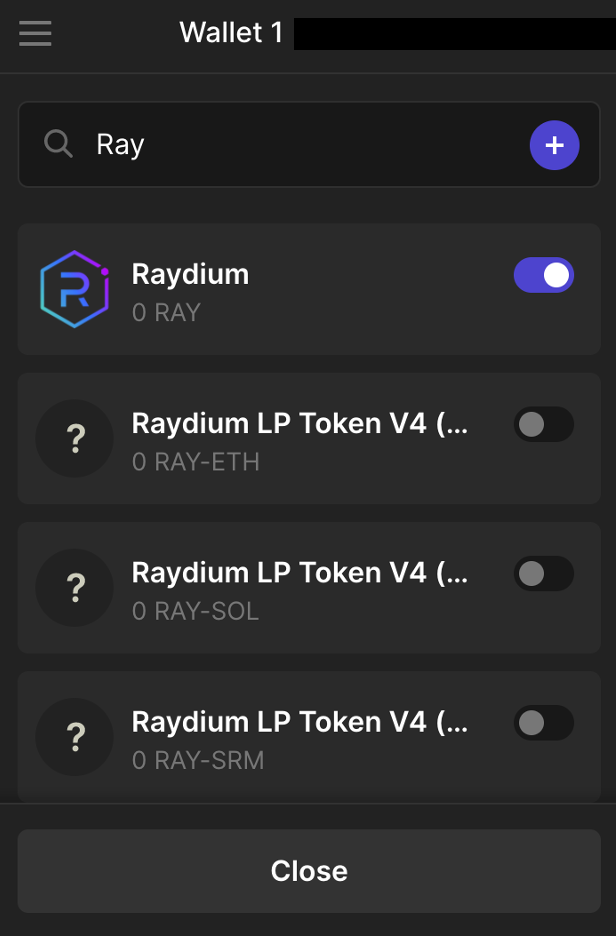
Once you click ‘close,’ the support for this token should now be visible.
Sending Tokens
Sending tokens on Phantom is quick and easy. Start by clicking ‘send’ on your wallet’s homepage and then search or click on the token that you want to send.
Next, you’ll need to enter the recipient’s wallet or exchange address as well as the amount of the token you want to send.
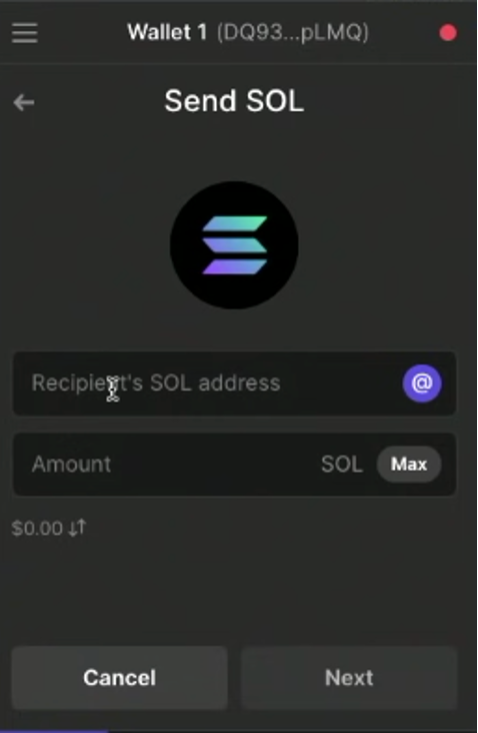
Once you click ‘next’ you will be required to pay a small blockchain ‘gas’ fee to complete the transaction.
Swapping Tokens
It’s also possible to swap Solana tokens using Phantom’s built-in decentralized exchange.
Start off by clicking on the icon with two arrows at the bottom of your wallet. On the next page, you’ll need to select the type and amount of the token you want to swap as well as the token you want to swap it into.
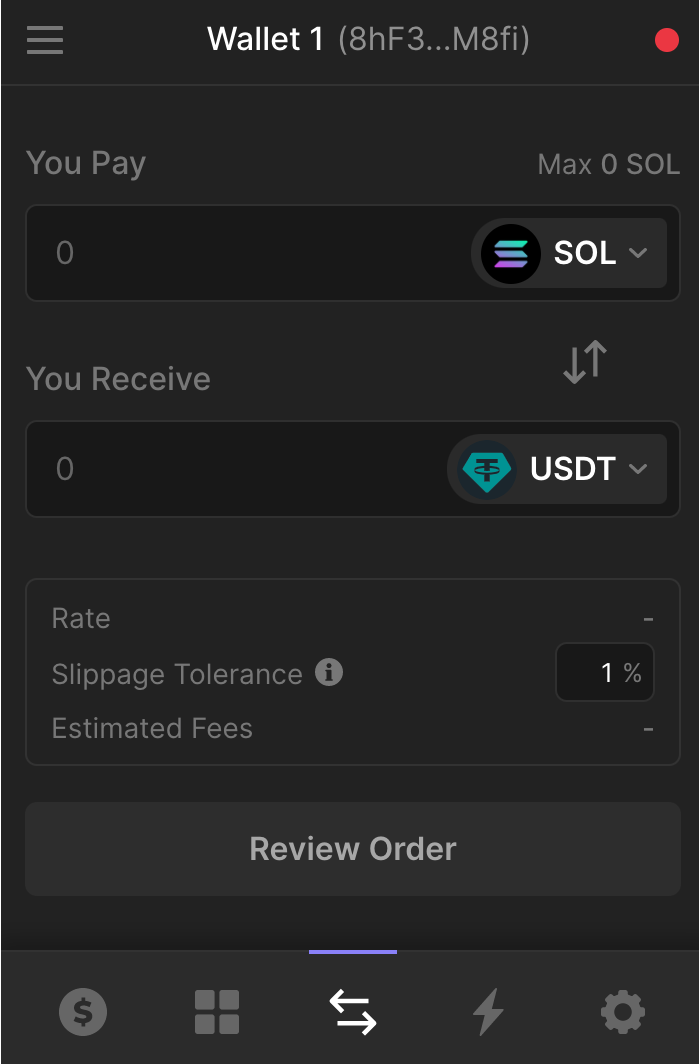
Once you do this, you’ll see the amount of the new token you can get in exchange for the original one.
Below this, you have what is known as a ‘slippage tolerance’. Because we are using a decentralized exchange that is influenced by supply and demand, the price of the swap can vary slightly from the time you begin the transaction to the time it is processed. The slippage tolerance is used to represent the level of price fluctuation you are ok with.
As mentioned, Solana is a fast blockchain, so setting a slippage tolerance of 1% is pretty standard. In other words, by setting a 1% slippage rate, you are saying that you are happy to go ahead with the transaction so long as the original exchange rate displayed to you did not alter by more than 1%.
Following this, click ‘review order’ to see your order’s details. Here you can see the estimated amount you will be charged for fees, which includes the blockchain gas fee and Phantom’s transaction fee.
Once you click on ‘Swap’, the transaction will be processed.
On the next page, you’ll have the option to ‘view transaction’ which allows you to view your transaction on the Solana blockchain.
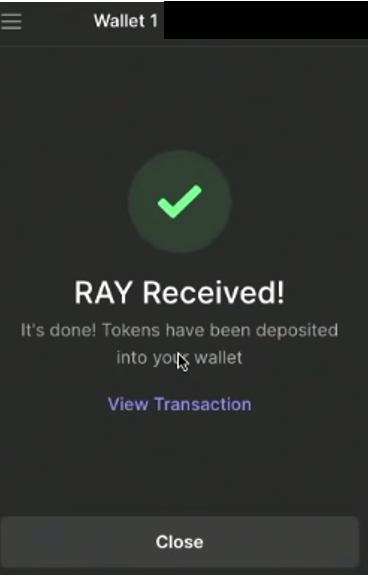
When you click ‘close,’ your new tokens should now be visible in your wallet!
Note: to view your transaction history, press the lightning bolt icon toward the bottom of your wallet’s screen. Whenever you use a dapp via Phantom, it will also be logged here.
Staking tokens
You also have the option to stake your Solana on Phantom. In simple terms, staking is where your crypto becomes part of the process that validates transactions on the blockchain. In exchange for putting your crypto ‘to work’, you can receive staking rewards. You’ll also be helping to reinforce the safety and reliability of the blockchain.
To stake on Phantom, all you have to do is click on the Solana token support on your wallet’s homepage and then click on ‘start earning SOL’.
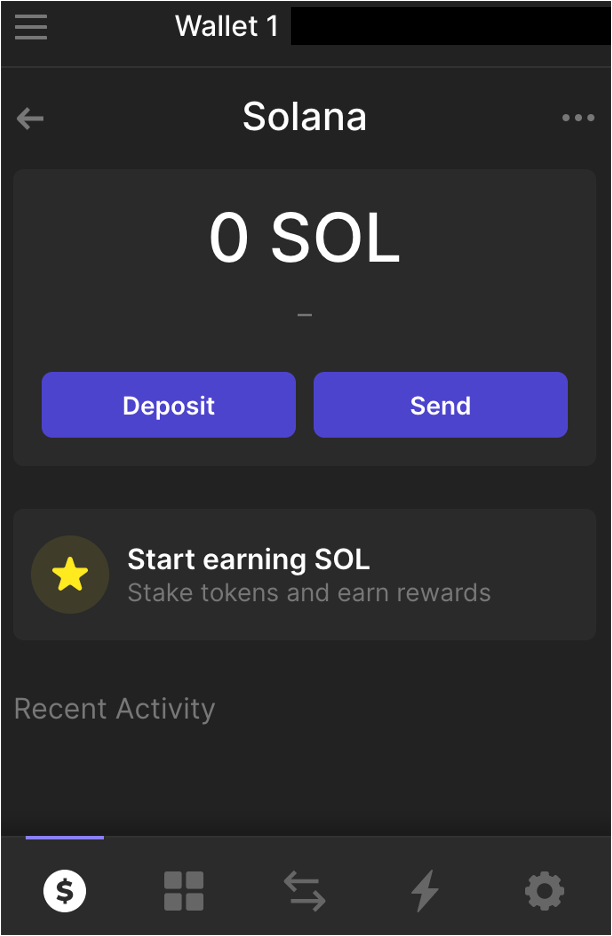
Next, you will need to choose the node or validator you want to stake your Solana to. It’s up to you which one you would like to go for.
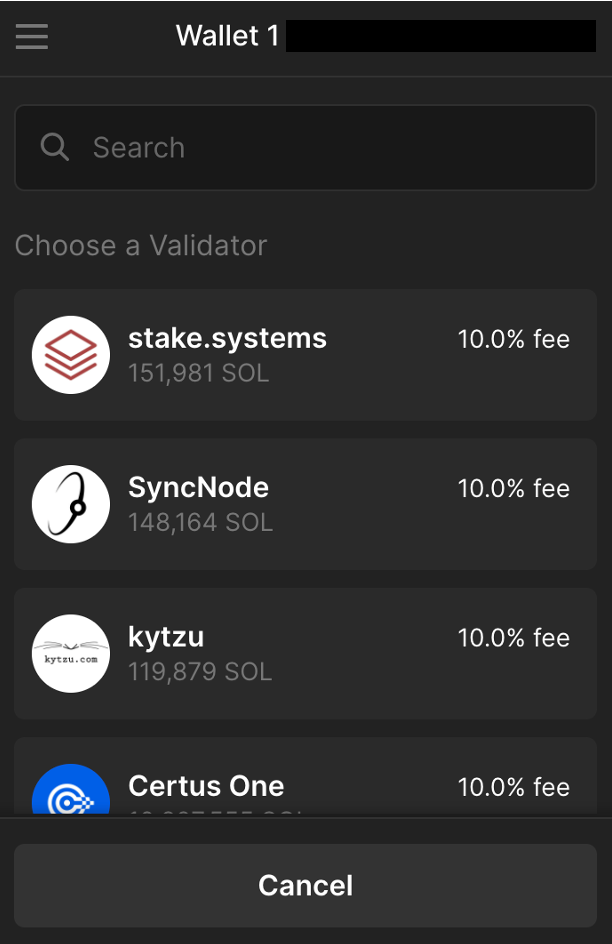
If you already know which node you want to choose, then you can go ahead and type it into the search bar. Otherwise, you can just scroll down through all the different validators. The percent fee that each one of these validators charges as well as the amount of Solana currently staked on them will be displayed.
Once you decide and click on a validator, you’ll have to decide how much of your Solana you want to stake. We don’t recommend staking all of your Solana, as you still need some SOL tokens for anytime you interact with the blockchain (e.g. when using dapps).
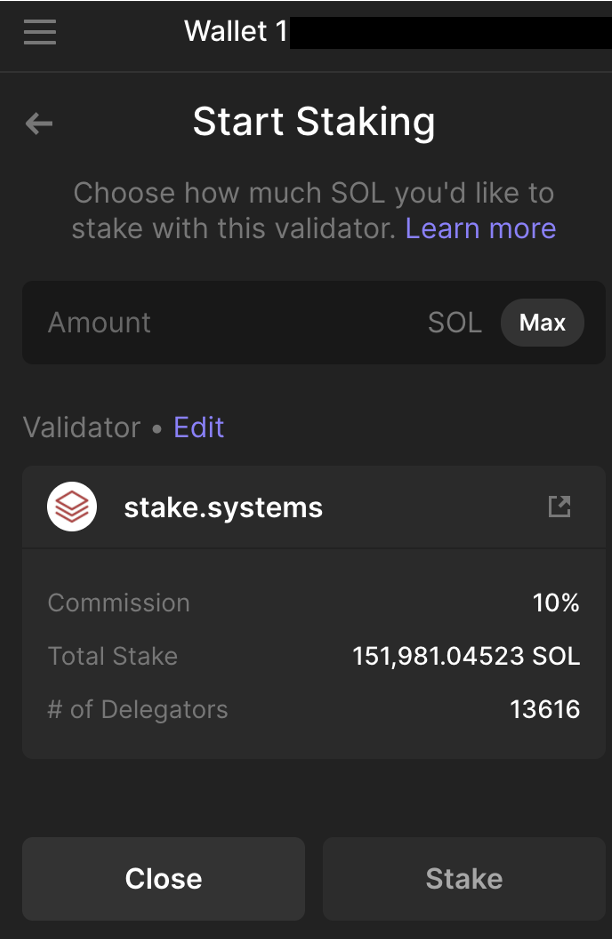
By clicking ‘stake’, the transaction will be processed. Your stake should now be visible on your wallet’s homepage!
Connecting to decentralized apps through Phantom
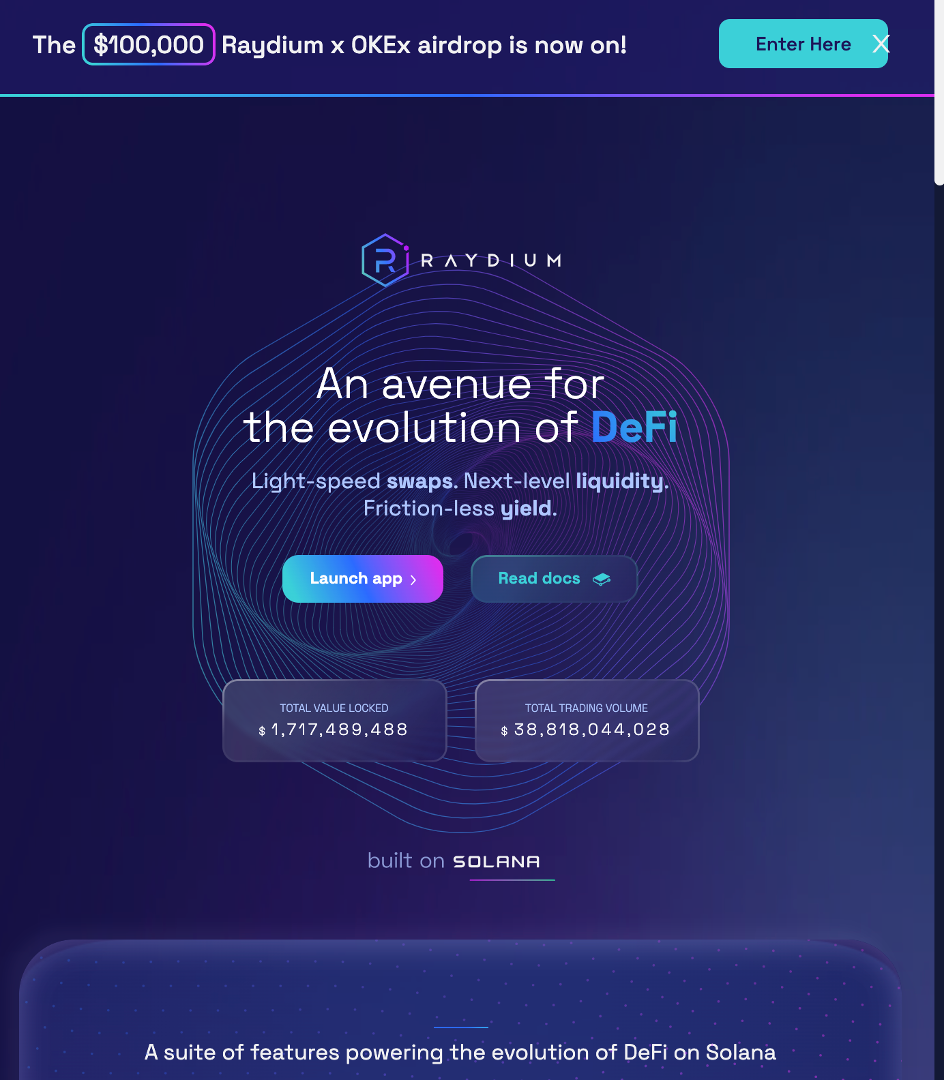
There’s a whole host of dapps that you can use with your Phantom wallet. For this tutorial, we’re going to use the app ‘Raydium’ as an example. Raydium is what is known as an automated market maker that facilitates faster and often cheaper transactions on the Solana blockchain.
To start, head over to Raydium’s website ‘raydium.io’.
Note: Phantom’s mobile app has a built-in browser that makes interacting with Web 3 apps even easier. Here you can simply type in the name or URL for the dapp/site you want to use (in this case Raydium) and hit search.

On the Raydium site, click on the ‘launch app’ button followed by ‘connect wallet’.Raydium supports a wide range of crypto wallets but we will obviously be selecting Phantom. A pop-up screen will appear where you’ll confirm you want to connect your wallet.
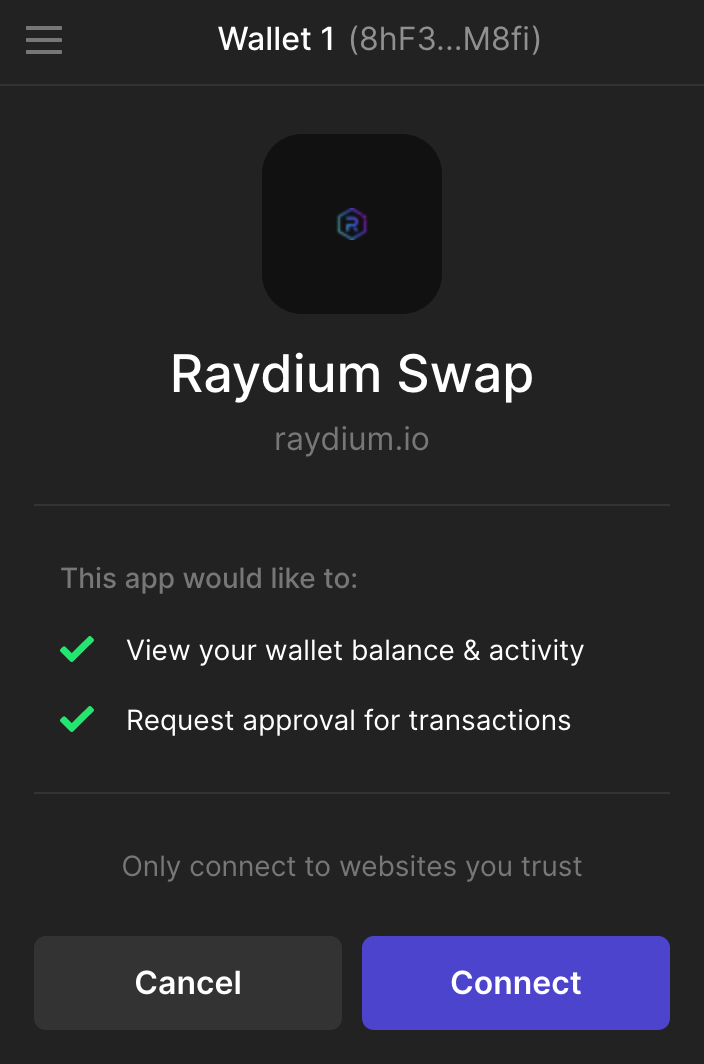
Once you have this done, you’ll be able to use the Raydium app. We will have a whole tutorial on Raydium soon so keep an eye out!


